If you have an activated version of Elementor Pro on your website, you’ll get access to the Theme Builder, which lets us edit the website’s header and footer (among other things).
1. From your WordPress dashboard, go to Templates > Theme Builder

2. Once in the Theme Builder, click on ‘Header’ or ‘Footer’ in the left side menu.
For instance, our header is seen here:
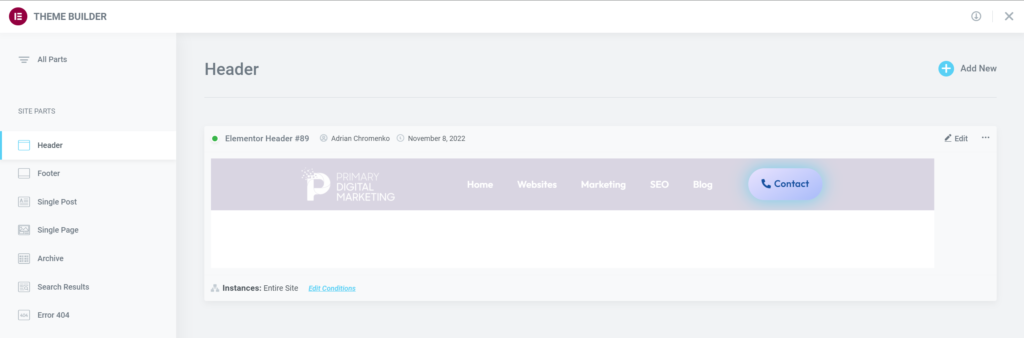
3. In the top right corner of the Header or Footer, click on ‘Edit’. From there you’ll be able to edit your Header or Footer in the Elementor builder.
Note: you may not see any headers or footers, or you may see multiples. If you don’t see any, click on Add New at the top right corner of the Theme Builder to build a new one. Elementor Pro comes with many Header and Footer templates.
If you see more than one header or footer, you can determine which one is in use if at the bottom of the element after the word Instances (see the screenshot from Step 2). If you see a green dot at the top left of the Header or Footer template, that means it is active. And if at the bottom it says ‘Entire Site’, that means it is being displayed on every page of your website.
Sometimes, you’ll see more than one header of footer if the website developer made more than one version for different pages, or if there are unused versions of a header.